
You have installed and configured Microsoft Syntex. Now you would like to use it for document templates. But how do you start with a document template and Syntex? This blog post will describe this for you.
Step 1
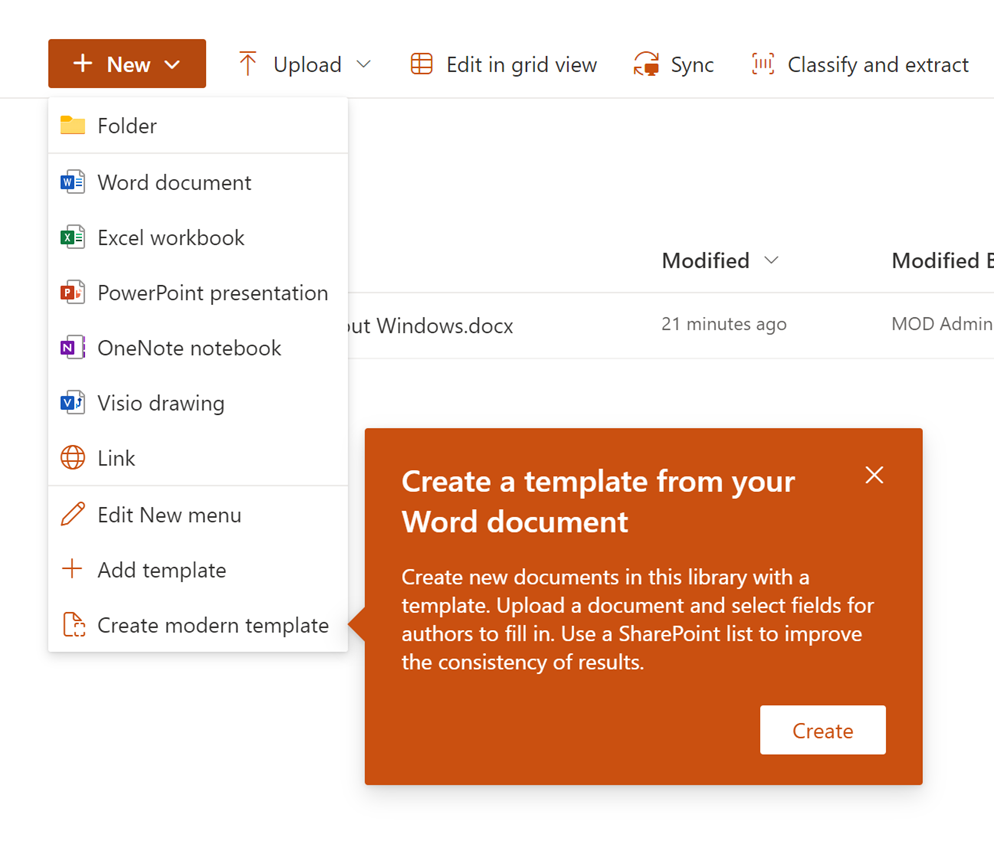
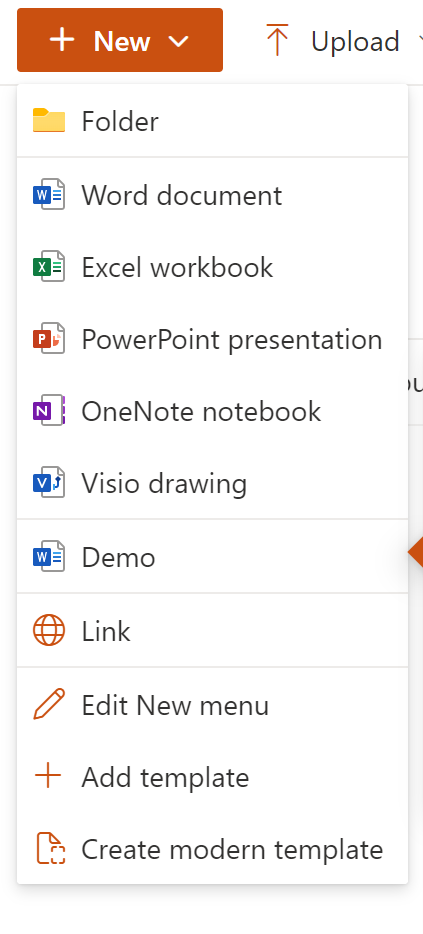
Go to the document library where you want to create the new document template. When click on the new button you have an extra option Create modern template.
Step 2
Choose to create a new modern template.
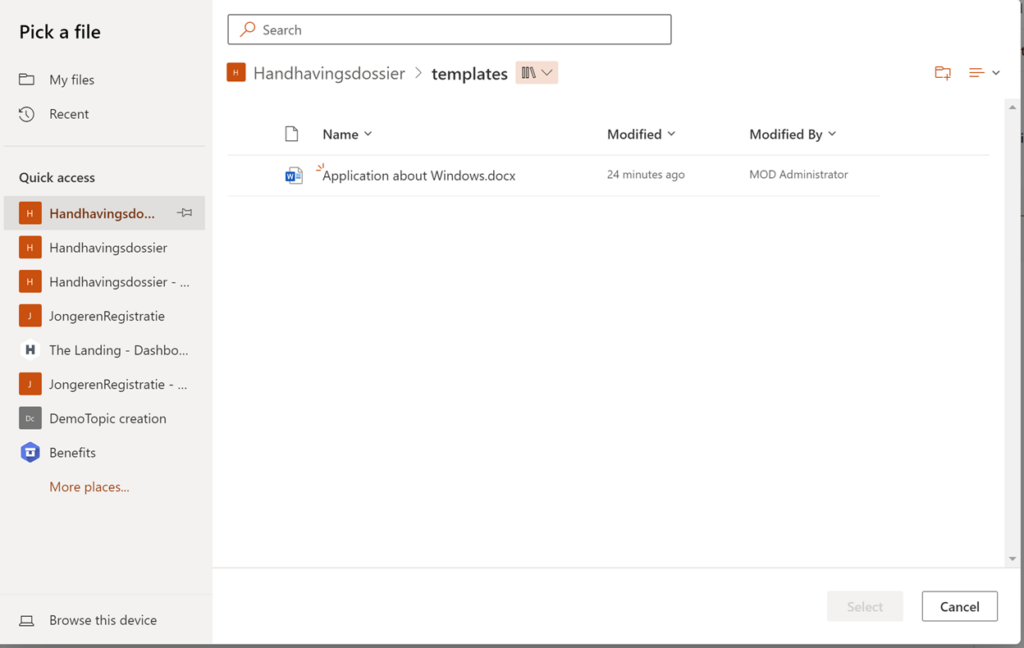
Here you can select the base for your template. There are many possibilities where you get the template from like: OneDrive, from any existing SharePoint Site, Local file from your computer.
When starting this blog, I placed the files on the same SharePoint site as the document library.
Step 3:
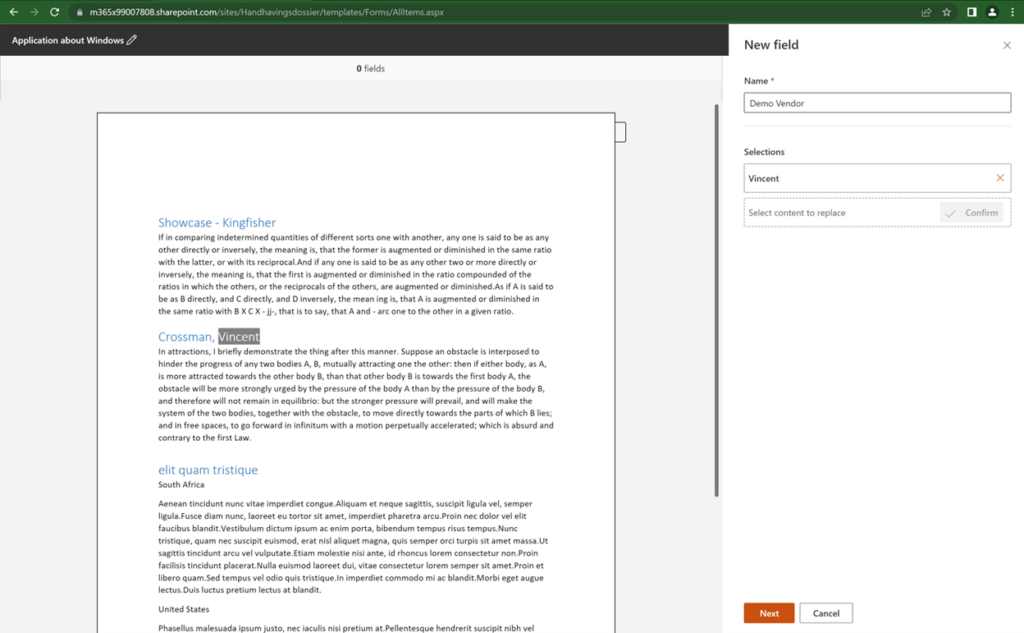
You now have the template you like to work with. Let’s configure some metadata fields in the template.
There are 2 options you could use:
- Create a field property from blank
- Create a field property from a list column.
In the field are the click on new field, enter a name and select content and click on confirm. After clicking on confirm, you will see that the button next is available. Click on it.
On the next screen, you can decide whether to create a new field or reuse an existing one.
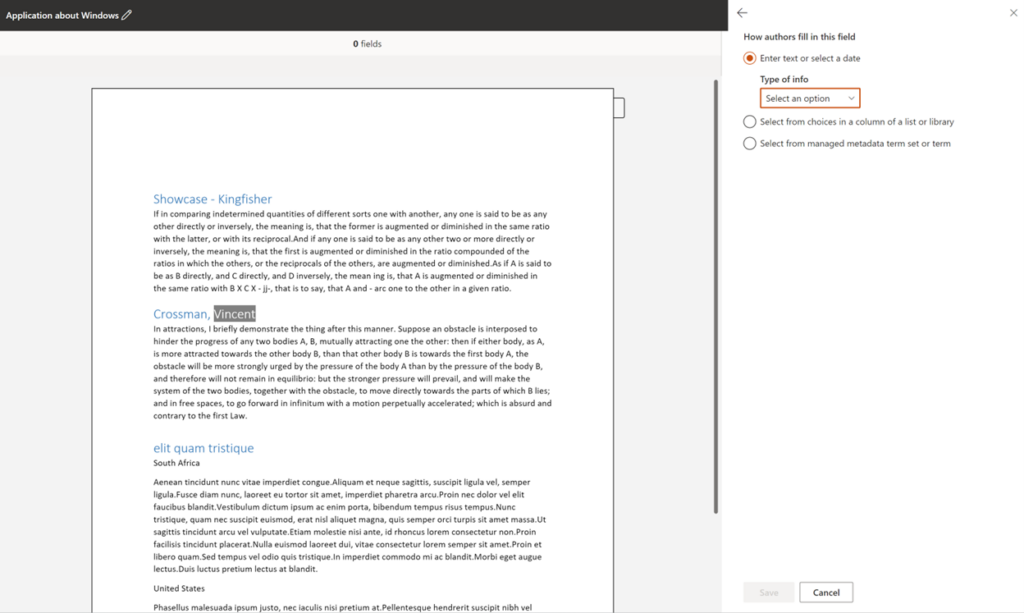
Select the type of the field you want and click save, then click publish. You will be asked to give your template a name. This name will be visible for you when create a new document by clicking on the new button in the SharePoint library.
Step 4
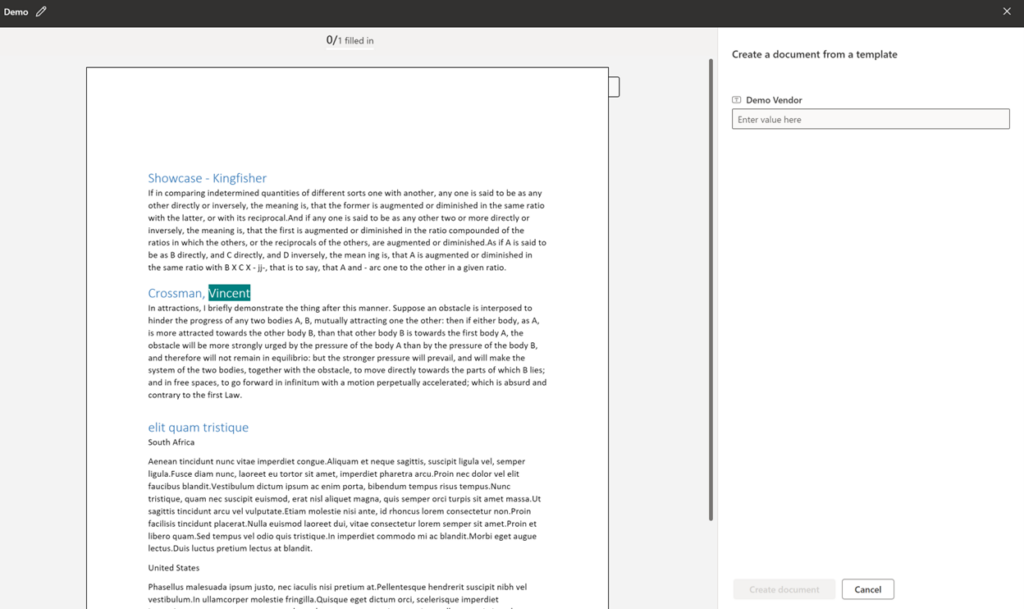
Create a new document based on the template.
When opening the template. You are going to see that you can enter Demo vendor. When you enter this, you will get the option to click on create document. Also, the highlighted text in the document will be changed. After creating the document, it will be available in your document library.
I used to be able to find good info from your articles.